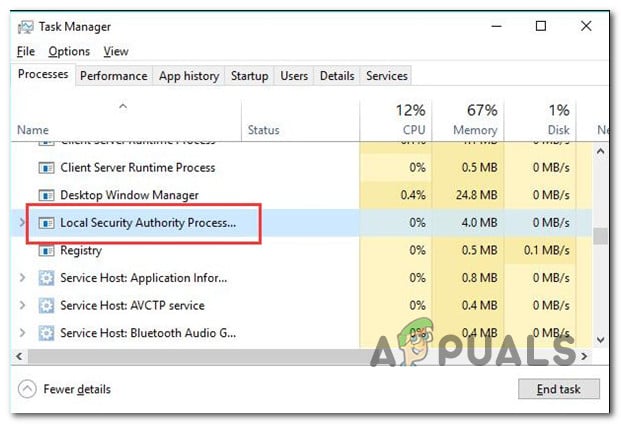
Note: The legitimate Local Security Authority Subsystem Service (LSASS) process is a genuine part of Windows 11. Its job is to enforce the currently active security policies of the system. Among other things, LSASS.exe is tasked with verifying all users logged into a Windows computer. If you’re one of the users affected by this issue, you should immediately get rid of the Dell Support Assist Remediation app, as it’s known to cause this issue (along with several 3rd party apps). However, high RAM and disk usage by LSASS can also be a symptom of system corruption or even some kind of malware infection. Here’s a list of confirmed fixes that you should follow:
1. Uninstall the Dell SupportAssist Remediation app (if applicable)
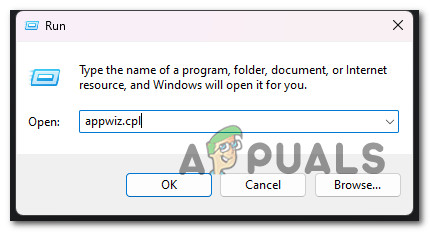
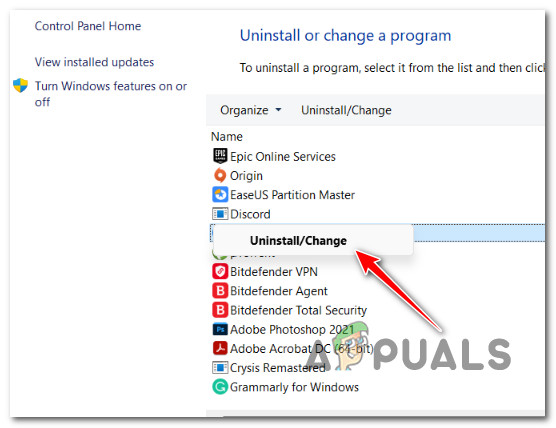
It turns out that a proprietary product called Dell SUpportAssist Remediation is the most frequent offender that will result in this excessive resource use by the LSASS.exe process. If this scenario is applicable and the Dell SupportAssist Remediation app is installed on your Windows 11 PC, you should attempt to temporarily uninstall it and see if the high resource usage by LSASS.exe is now fixed. Here’s how to do this: If the problem is not fixed yet or this method did not apply to your particular scenario, move down to the next method below.
2. Perform a Clean Boot
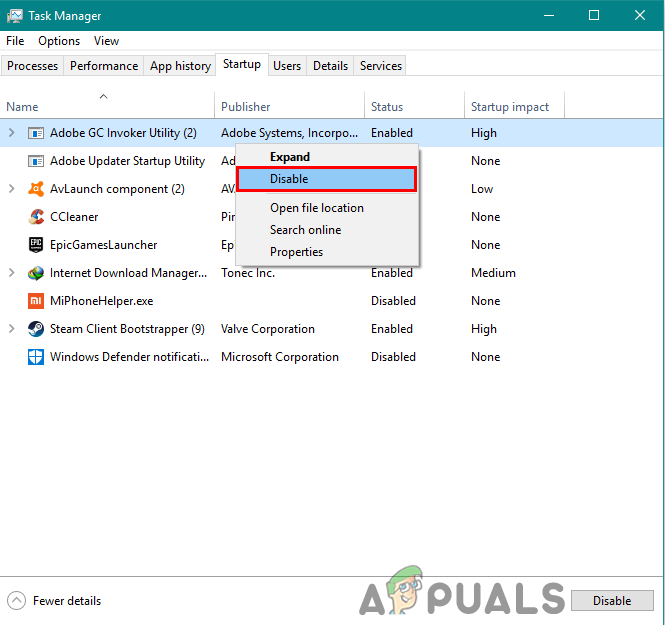
There are several more apps outside the Dell Support Assist Remediation software that might take advantage of the LSASS.exe process and make it consume a lot of system resources (CPU & RAM). In this instance, you need to perform a clean boot and verify if the symptom stops occurring. While booting in this state, your computer will launch without any third-party services, processes, or starting items, and hopefully, the high resource usage of LSASS.exe will no longer be there. The precise steps to take to boot in a clean boot on Windows 11 are listed in this article. If the problem is still not fixed even though you have already achieved a clean boot state, move down to the following method below.
3. Install Pending Updates
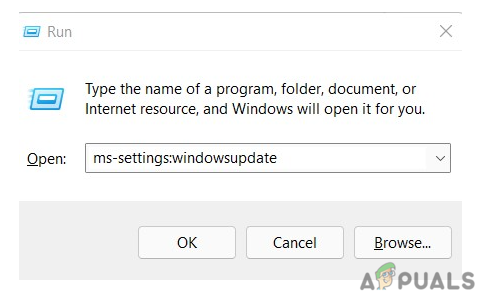
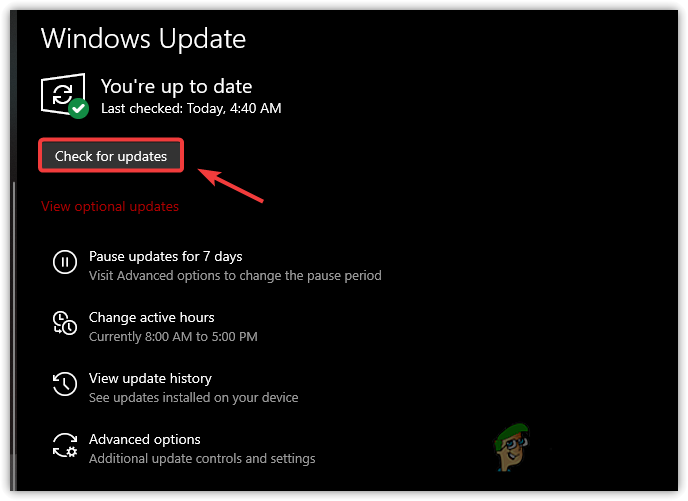
The problem is pretty old at this point, and Microsoft has previously made several hotfixes to restrict the CPU and RAM bandwidth available to the idle LSASS.exe. Install each update available from the WU component if your Windows 11 computer is out of the current. Make sure your version of Windows 11 is up to date by visiting the Windows Update component and finding the problem. How to accomplish this: If you’re still seeing the Local Security Authority Process Subsystem Service consuming many system resources, try the following method below.
4. Check for Malware
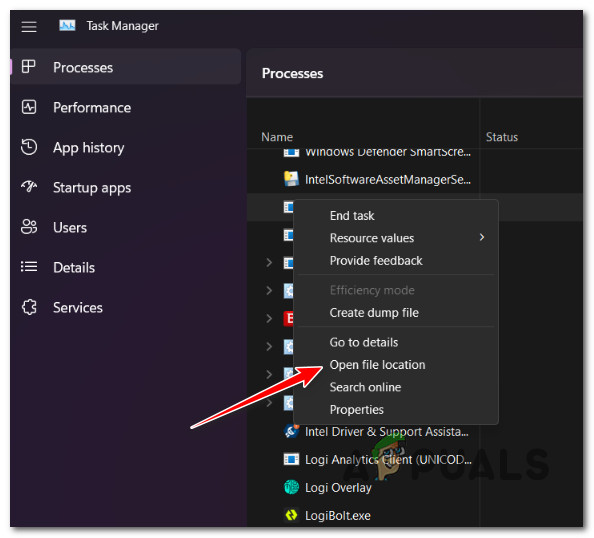
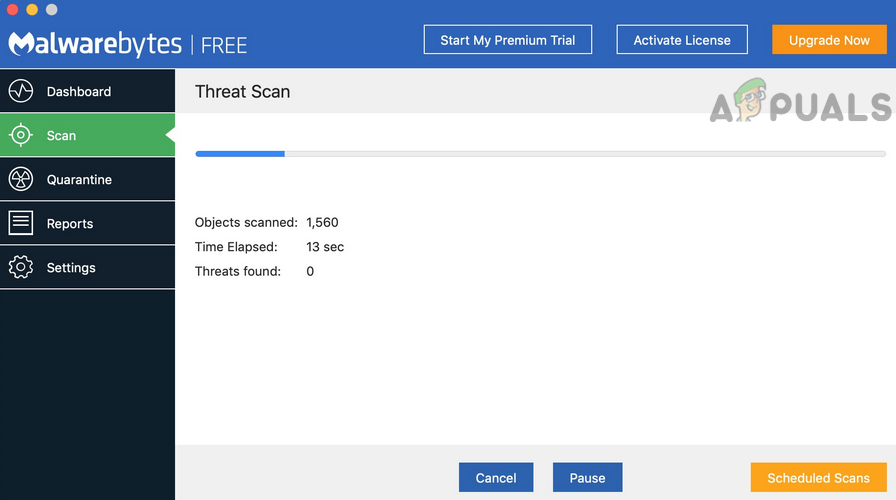
Some security experts believe that LSASS.exe may not be a genuine service. You can be dealing with malware that poses as the legitimate Local Security Authority Subsystem Service and imitates its features. By running a system-wide scan and scanning each individual LSASS.exe file, you may verify to see if this is true. IMPORTANT: Before you deploy an anti-malware scan, you must check whether the LSASS.exe is fake or if you’re dealing with a genuine service. If you discover foul play, we’ll show you the quickest and most efficient way to get rid of the malware and remove the virus disguising itself as the LSSS.exe program. Here’s how to check if the LSASS.exe process is genuine or it’s malware in disguise: If this method has allowed you to determine that this problem is not related to virus infection, try the next method below.
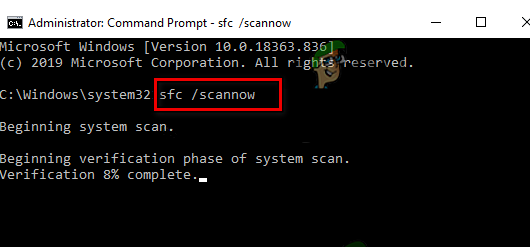
5. Deploy SFC and DISM scans
In some cases, system file corruption that affects the LSASS.exe process or a related dependency may cause you to encounter this issue. If the corruption is superficial and doesn’t affect kernel files, utilities like SFC (System File Checker) and DISM (Deployment Image Servicing Management) should allow you to effectively replace the LSASS.exe process with a new equivalent as well as do the same with every dependency. For the best results, our recommendation is to run both utilities in quick succession: If you’re still experiencing the same general system slowness because the Local Security Authority Process Subsystem Service takes a lot of CPU and RAM resources, move down to the following method below.
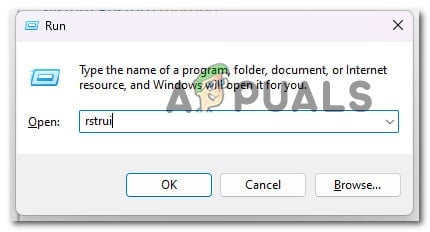
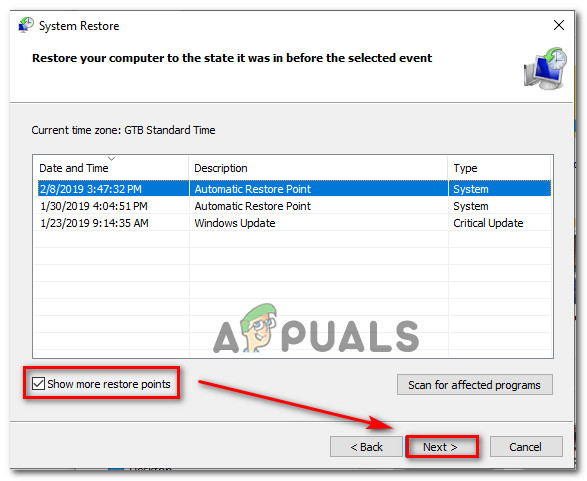
6. Perform a System Restore
It turns out that a recent system modification may have harmed the Local Security Authority Process Subsystem Service, leading it to consume more resources than it should have. In this instance, you can try to solve the problem by using System Restore to return your PC to a previous state in which the problem was not present. You may use the built-in System Restore application to return your PC to a previous state where the issue was not present, and the LSASS process was not hogging up your system’s resources. IMPORTANT: Bear in mind that applying this technique would nullify all changes made after the System Restore point was created. Everything will be gone, including installed programs, modified system preferences, and more. If you’ve made the decision to restore your system, proceed as follows: If you have no possible restore point, try the final available fix below.
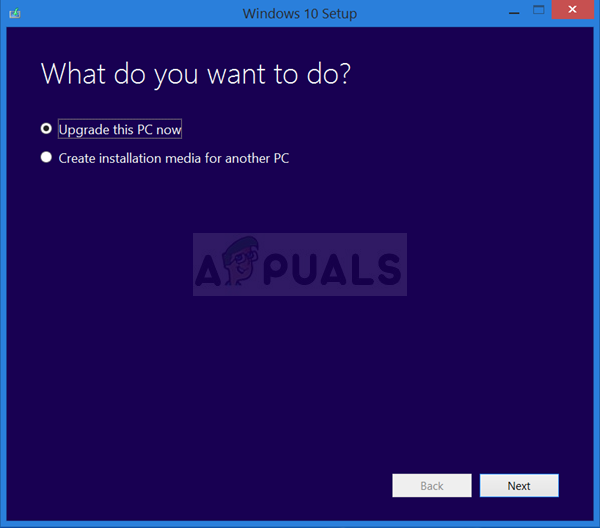
7. Perform a Clean install
If you’ve tried every solution in this guide so far and still see the LSASS.exe file consuming most of your system resources, you most likely have a severe corruption problem that cannot be resolved with built-in tools like SFC and DISM. In this case, you must effectively replace every part of Windows to ensure that all instances of corrupt system files are eliminated. Most users choose a clean install, which completes the process and deletes all personal data, including applications, games, movies, and documents. Choose a repair install if you wish to upgrade your Windows components less radically without causing any harm to your personal digital property (games, apps, images, papers, etc.). You may keep all of your personal information by using this method.
FIX: 80%+ RAM and Disk Usage by Windows Explorer When Loading Folders Containing…Fix: Deferred Procedure Calls and Interrupts Service Routines High CPU and Disk…How to Fix High CPU and Disk Usage by wmpnetwk.exe in Windows 7Fix: Windows Host Process Rundll32 High Disk and Cpu Usage